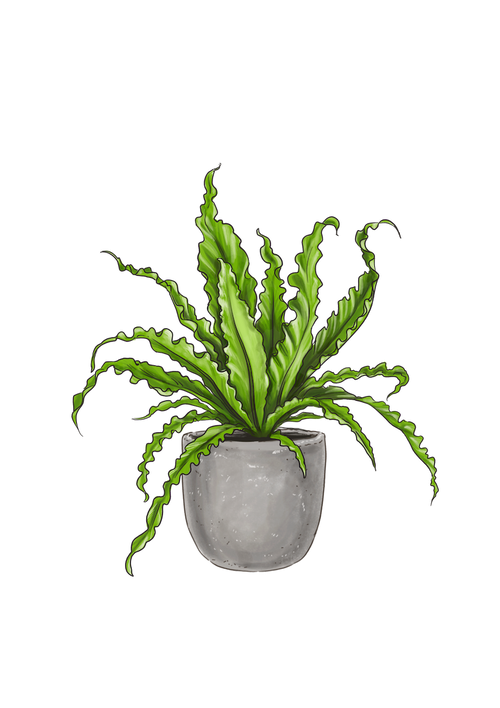
Fern Care Guide

-
Light : Medium
Give this plant bright, indirect light in a southern-facing window or a combination of exposures. The brighter the light, the more increased waviness of the leaves.
-
Water : Low
Use filtered, bottled, or tap water sitting 24 hours to release the chemicals and water enough that the water discharges out of the drainage holes. Once the water is fully drained, replace them into the cache or decorative pot. Don't let the roots sit in standing water. Keep the soil consistently moist and well-drained. When watering, avoid the frond rosette to prevent rotting. Keep the leaves dry to avoid fungal and bacterial infections.
-
Humidity : Medium
Enjoys medium to high humidity. Add a pebble tray or humidifier to keep the humidity around them high but don't spritz the leaves as that can cause fungal and bacterial infections. Keep the leaves dry.
-
Temp : 70℉ - 80℉
This plant likes warmer temperatures. Keep it out of cold drafts.
-
Zone : 10|11
Outside: Keep them in shade on a patio out of direct sunlight to prevent leaf burn where nights are above 65°F.
-
Fertilizer : Weekly
Fertilize every two weeks during the growing season (spring and summer) by diluting a liquid fertilizer by half strength. Let the plant rest in the fall and winter. Note: If the leaves lose the wavy edges, your plant may be getting too much fertilizer. If so, fertilize once a month.
-
Repotting : 2 Years
When receiving the plant, do not repot immediately but wait at least 6-12 months or if the roots are beginning to get crowded and growing through the drainage holes.
Repot in the spring, using a 2" bigger pot to keep the roots drier. Use a well-draining indoor potting mix with perlite with an equal mix of charcoal to help with drainage and hold plant nutrients.
Water your plant in the old pot before transferring over and let them sit an hour. Place a piece of screening at the bottom of the container over the drainage hole to the soil and allow it to drain. Add soil to the bottom to elevate the root ball. Lift the plant and release the roots against the existing planter. Use a clean knife or garden trowel to wedge between the pot and the soil to loosen.
Inspect the root ball. Notice if there are any dead or rotting roots and trim off with sterile pruners. If the plant is rootbound, cut through the roots to alleviate continued encircling.
Ensure the plant is sitting about 1" below the edge of the pot to avoid water spillage. Add more soil and backfill around the sides by tamping down. Fill up to the soil line but not over.
Water thoroughly, leaving the soil damp but not soggy. If settling occurs, add more soil.
-
Cleaning : Monthly
Misting the leaves daily will keep the leaves on this plant clean. Remove any debris from the soil surface and replenish if needed. Trimi any damaged or browning tips and avoid letting water or debris fall into the rosette.
-
Propagation : Spores
Birds nest fern is very tough to propagate for the average gardener.
If you adventurous and a bit curious, try reproducing your own bird's nest fern by harvesting its spores. The spores are the small rows of brownish, fuzzy spots along the bottom of the leaves. When these spores look fat and fuzzy, trim off the leaf they're on by cutting it down to the bottom of the stem. Delicately set them into a paper plate. Over the next few days, the spores should fall onto the paper plate as they dry.
Afterward, gather several containers of sphagnum moss. Spread the spores over the top surface, and keep them uncovered. Put your pots of moss and spores in a dish of water to bottom soak through the moss. Cover the pot with a clear plastic bag to create a mini "greenhouse" to keep humidity high, or hand-mist the top daily. Keep the temperatures between 70-80 degrees in bright, indirect light.
Germination starts in approximately 2-3 weeks if the humidity is kept high. Once the sprouts have grown, remove the plastic cover. Provide high humidity around the leaves as they grow by using a pebble tray and humidifier.


