


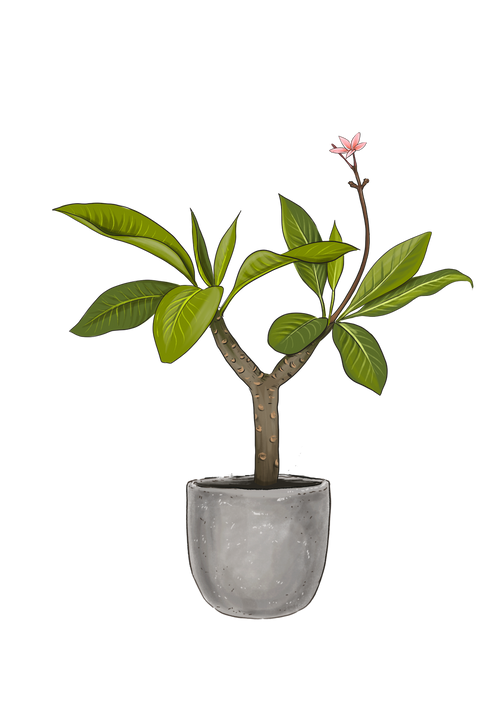
Plumeria Care Guide
-
Light : High
This plant will do well outside on the southeast side of the home to avoid afternoon heat. Give at least 6 hours of morning sun per day to promote plenty of flowers.
-
Water : Medium
Let the outdoor soil dry between waterings through the growing season between March and September. Water sparingly in the winter during dormancy as they don't like wet feet. When watering in a container planting, ensure the pot has good drainage.
-
Humidity : Medium
Thrives well in moderate humidity levels. If this plant is planted in a dry climate, provide misting to the foliage but not to the flowers. Add a water source nearby or a tray of wet pebbles to create humidity.
-
Temp : 65℉ - 85℉
Keep this plant in rooms where the temperature is a comfortable 65°F-85°F and avoid cold drafts or air vents below 55°F. They thrive in warmer and humid temperatures.
-
Zone : 9|10|11
Outdoors in bright shade, where nights are above 55°F. If using in a container, they can only be used as an annual up to Zone 9-11. This plant doesn't tolerate cold temperatures. To winterize during dormancy, place in a container and bring inside during the winter while they are small.
-
Fertilizer : Monthly
Apply a 10-30-10 fertilizer once each month to encourage flowering.
-
Repotting :
Outdoors:
After the last frost date in your planting zone, plant the Plumeria in the spring.
Choose a part sun (4-6 hours) area where they get morning sun and afternoon shade. The southeastern side of the house is preferable.
Cultivate the native soil for good drainage with organic matter like compost.
Be generous by digging a hole twice the pot's width and 1 inch shorter than the grower pot to raise above the soil level for good drainage.
Use a pitchfork or a sharp object to stab the soil walls to make several indentions for the roots to take hold.
Tickle the roots to loosen them if they wrap inside the container.
Place the plant in the center of the hole. Fill the hole with water first, so the roots get another good drink. Next, backfill with native soil mixed with compost by one-third to one-half (if the native soil is clay). Add a rooting hormone fertilizer to this backfill mixture. Tamp the soil firmly down around the edges and mound up.
Avoid covering the original soil level of the plant that was in the container. Add mulch as needed but not next to the stem or branches of the plant. Water lightly. Continue to observe the soil moisture each day, depending on the temperatures and soil drainage. The soil needs to remain moist but not soggy during the growing season and until they get established. Let dry on the top few inches between waterings.
-
Cleaning : As needed
Spray down the leaves if rain hasn't already done so to clean the leaves. Avoid hitting the flowers with water. Use a shower spray at a low level to avoid harming the flowers and leaves.
-
Propagation : Cuttings
Prune off a 4-6 inch cutting. Allow the tips to heal and dry for a couple of days before placing them in the cactus and succulent potting mix like you would a succulent. Prepare the planting tray with damp potting mix in each pot. Then, place the cuttings in bright, indirect sunlight. Cover the planting with a clear plastic bag loosely to create humidity and mist with water as the soil dries. Continue to nurture with moisture and bright indirect light. Turn the pot each time you water if the light is coming from one direction.

