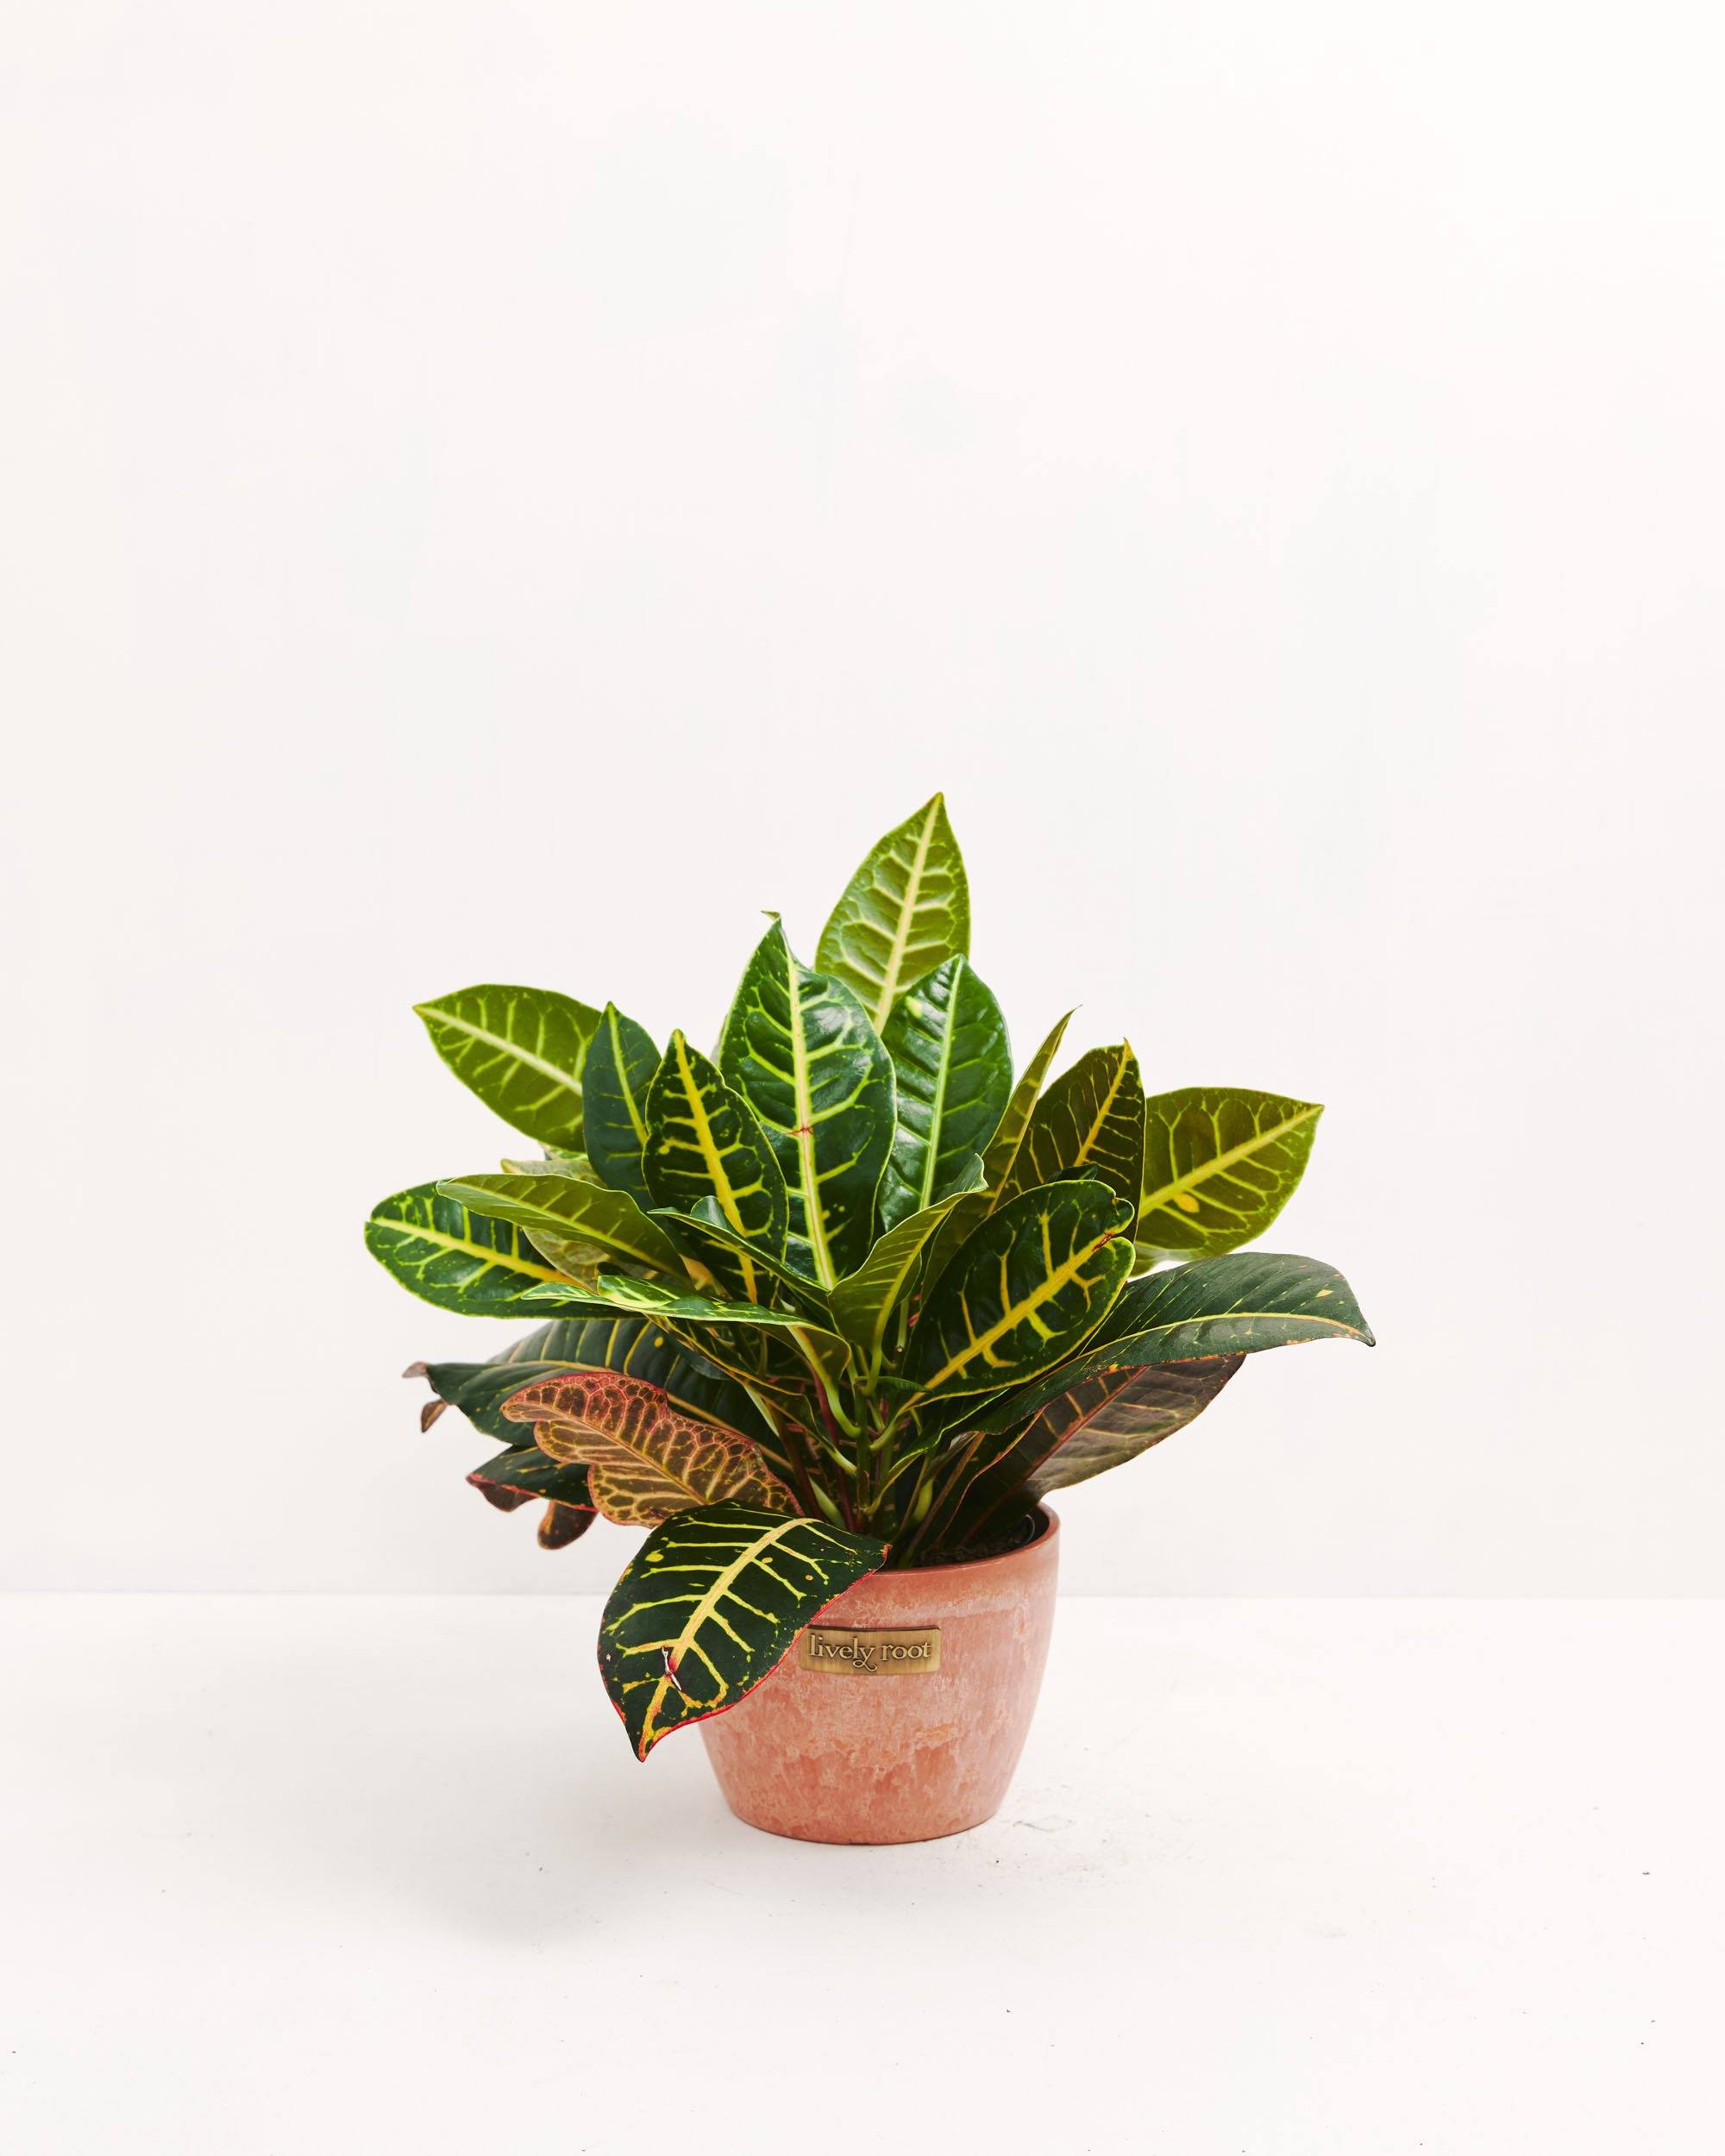
Croton Care Guide

Adds a nice tropical element to a brightly lit room. The more sun they get, the more rainbow shades will appear in their variegated foliage. You can usually expect warm stripes of red, pink, and yellow contrasting with dark green. Bright and bold, they are surprisingly easy to care for.
Download Care Card
  • Light : High

    Loves bright light so they can produce their colorful leaves.

  • Water : Medium

    Water when the soil begins to dry out, but do not oversaturate.

  • Humidity : High

    Enjoys high humidity. Spritz occasionally.

  • Temp : 60℉ - 70℉

    Keep this plant in consistent temperatures. Avoid drafts, heat or air vent outlets and windows and doors. Avoid moving this plant around or they will protest and drop leaves.

  • Zone : 9|10|11

    Outside: Place Crotons in morning sun to develop their vivid colors. Midday sun can burn the leaves. Leave outside in container pots until night time temperatures dip to 60°F.

    Inside: Set this plant in bright, indirect lighting.

  • Fertilizer : Monthly

    Water the Croton Petra one day prior to fertilizing. Fertilize once a month by diluting a liquid fertilizer by half strength. A slow release granular fertilizer can be added to the top of the soil and as you water will release nutrients for the plant. Let the plant rest in the fall and winter.

  • Repotting : 3 Years


    When receiving the plant, do not repot immediately but wait at least 6-12 months or if the roots are beginning to get crowded and growing through the drainage holes.

    Repot in the spring, using a 2" bigger pot to keep the roots drier. (Too big of a pot could cause the soil to dry slower, which is not helpful.) Use a well-draining indoor potting mix with perlite to help with drainage.

    Water your plant in the old pot before transferring over and let them sit an hour. Place a piece of screening at the bottom of the container over the drainage hole to secure the soil and allow it to drain. Add soil to the bottom to elevate the root ball. Lift the plant and release the roots against the existing planter. Use a clean knife or garden trowel to wedge between the pot and the soil to loosen.

    Inspect the root ball. Notice if there are any dead or rotting roots and trim off with sterile pruners. If the plant is rootbound, cut through the roots to alleviate continued encircling.

    Ensure the plant is sitting about 1" below the edge of the pot to avoid water spillage. Add more soil and backfill around the sides by tamping down. Fill up to the soil line but not over.

    Water thoroughly, leaving the soil damp but not soggy. If settling occurs, add more soil.

  • Cleaning : Monthly

    Gently wipe clean with a soft, damp cloth or paper towel. Work gently from the stem's base toward the leaf's tip, cleaning both sides at once. After cleaning the leaves, remove any dead leaves or debris on the surface of the soil.

    Refresh the soil mixture if needed.

    Prune away damaged or diseased leaves down to the stem base with sterile scissors. They can be pruned down to a manageable size if overgrown to create lushness. When pruning, only remove 1/3 of the stem height at a time.

  • Propagation : Stem Cutting

    In the spring or summer, prune 3-4 inch stem cuttings from the parent plant with three to four leaves on the stem.

    Dip the ends in root hormone (mixed in water at a paste consistency) and place in damp, well-draining, moist potting soil mix and tamp down around the stem to secure.

    Use a container that has drainage and is deep enough for the roots to grow. Place the stem at least 1-2 inches down into the soil.

    Mist inside a clear plastic bag to create moisture and humidity. Place the bag over the top of the plantings and let it set over the planter. There is no need to tie off the bag but allow a little airflow under and into the planting pot.

    Set in bright, indirect sunlight while they are rooting.

    Check the moisture and humidity each day and add misting to keep the soil moist while the roots establish.

    After 6-8 weeks, roots will begin to form. You can tug onto the stem to ensure the roots are establishing.

    Another way is to directly take leaf cuttings from the stem and place the ends in an inch of filtered or bottled water. Replace the water weekly and observe the growth each week. Once you have several healthy roots, combine a little rooting hormone into the well-draining potting mix to help get established. Water the soil and use a clear plastic bag, misting it with water, and place it over each leaf to create high humidity. Each week, check the soil moisture and water if needed. After 6-8 weeks, the roots should be firmly in place, and a new baby Croton will continue to grow fresh sprouts!