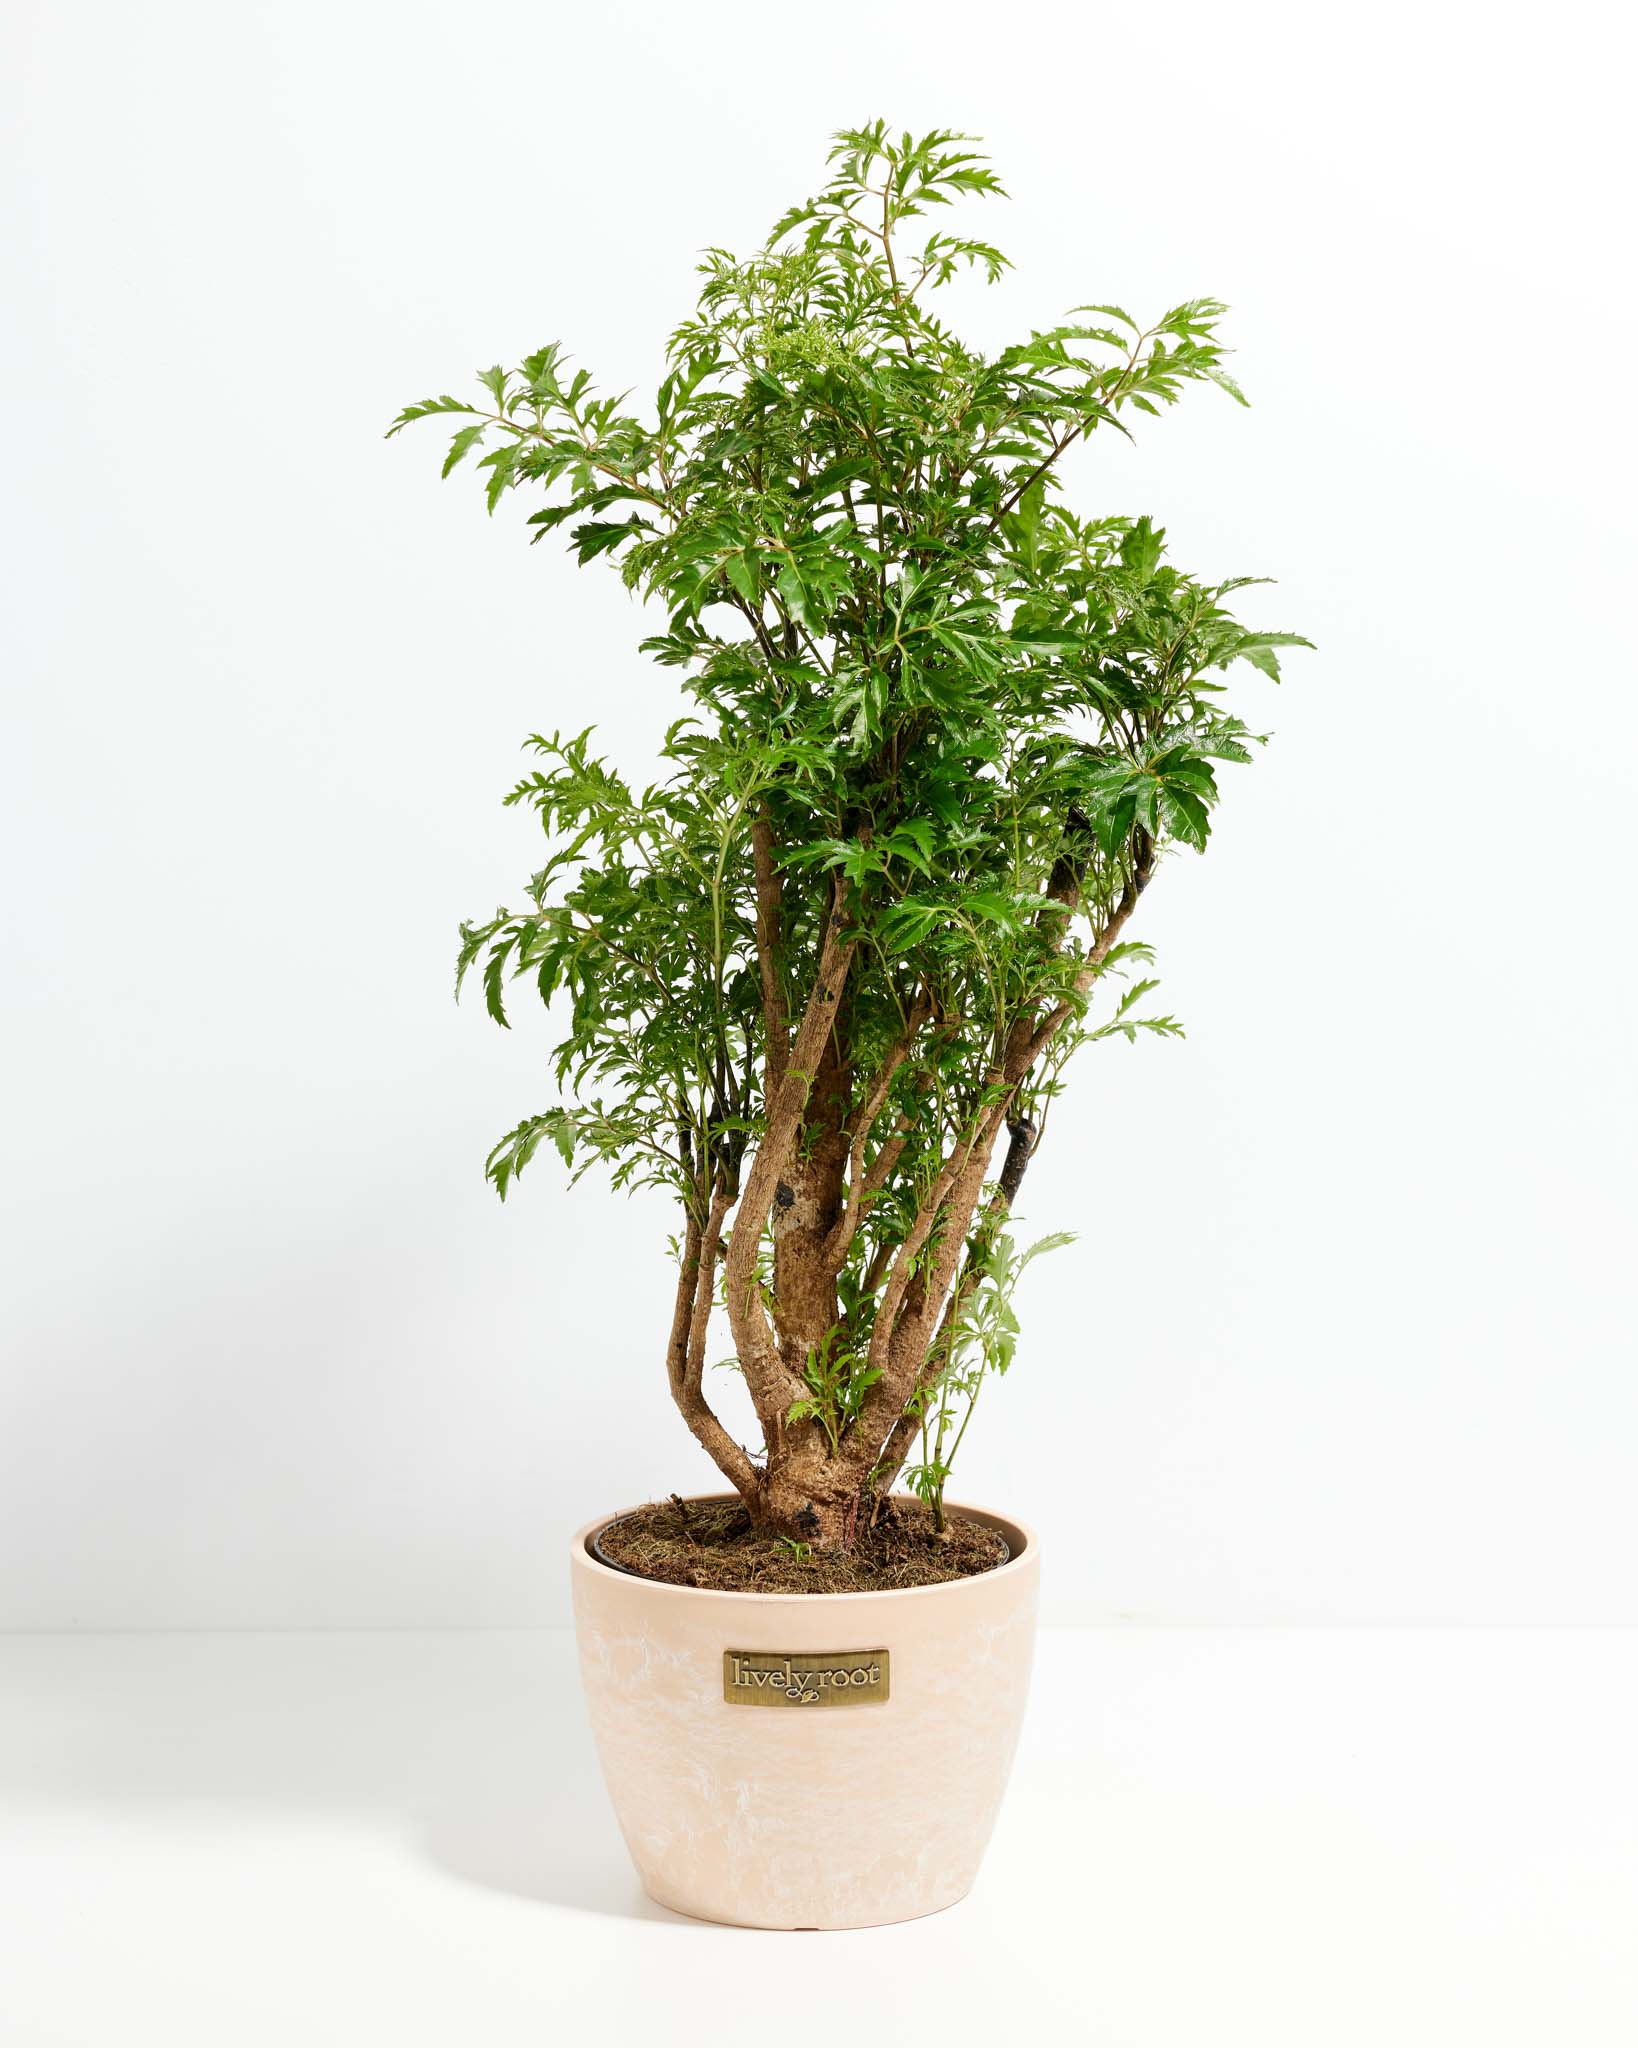

Place your Ming Aralia, where she'll get the brightest indirect light near your home's east, west, or south windows.
Keep your Ming evenly moist and use our plant thermometer to monitor her moisture needs.
Your Ming is used to the hot, humid tropics so keep her near other plants, on a plant tray and a humidifier to keep her happy.
Mings are used to tropical temperatures. If she experiences cold drafts or exposure to temps below 60°F, it will shed her foliage.
When in their native habitat, she will show off white to pale yellow blooms with five petals during spring and summer but don't expect any flowering indoors.
Fertilize with our Arbor plant food once a month during the growing season between March and October. To provide adequate drainage, your Ming likes soil mixes with pine bark, coir, perlite, or vermiculite. Keep her soil slightly acidic in the 6.0-6.5 range.
When receiving the Ming Aralia, do not repot immediately but wait at least 6-12 months or if the roots are beginning to get crowded and growing through the drainage holes. (They like to be a bit rootbound anyway!)
Repot in the spring, using a 2 inches bigger pot to keep the roots drier. (Too big of a container could cause the soil to dry slower, eventually leading to root rot.)
Place a piece of screening at the bottom of the container over the drainage hole to secure the soil and allow it to drain. Use a well-draining indoor potting mix with perlite to help with drainage.
Water your plant in the old pot before transferring and let it sit for an hour.
Add soil to the bottom to elevate the root ball. Lift the plant and release the roots against the existing planter. Use a clean knife or garden trowel to wedge between the pot and the soil to loosen it.
Inspect the root ball. Notice if there are any dead or rotting roots and trim them off with sterile pruners. Cut through the roots to alleviate continued encircling if the plant is rootbound.
Ensure the plant sits about 1 inch below the edge of the pot to avoid water spillage. Add more soil and backfill around the sides by tamping down. Fill up to the soil line but not over.
Water thoroughly, leaving the soil damp but not soggy. If settling occurs, add more soil.
Let the soil drain thoroughly before placing it in a cachepot.
Ming Aralia shrubs grow slowly, so there's not a lot of pruning to do. When pruning your Ming Aralia, do it during cold months when she's in dormancy. To thicken the density of leaves, trim the tips to encourage branching. If a branch looks out of place, prune it to control its upright habit. Conquering Aralias pruning can produce a beautiful and elegant plant shape. Also, clean the soil of any foliage debris and trim off any dead, damaged, or diseased limbs periodically.
In the fall season, hydrate the plant the night before taking cuttings. Take a young stem cutting between 4-6 inches long with several leaves attached from the top of the shrub. Cut 1/4 inch below one of the sets of leaves.
Remove the lower leaves to expose the nodes (the spot where the leaves were attached)
Dip the end of the cuttings in water, then in a rooting hormone.
Use a pot with drainage and place the stem 1 inch down into the well-draining, moist potting soil mixed with coconut coir, perlite, and coarse sand. Tamp down around the stem securing it.
Place a clear plastic bag over the cutting to mimic a greenhouse and mist the bag. Set it in bright, indirect sunlight while they are rooting.
Check the moisture and humidity daily and add misting to keep the soil moist while the roots are established.
After 6-8 weeks, roots will begin to establish. You can tug on the stem to ensure the roots are secure. Cut a slit in the plastic bag and keep the plant's soil damp until rooting has developed. This will help acclimate the plant to normal humidity levels.
Once the roots are secure, transplant them to their new home, place them in bright, indirect sunlight, and water them each week, providing the necessary temperatures and humidity.