
California ivy is a part of the ivy climbing plant family in many different climates. This ivy features green leaves, each with five rounded lobes, and the veins of each leaf are a lighter green color, and the stems occasionally have a reddish color. California Ivy produces small pink flowers in the springtime, and the summer produces really fun small red berries. This plant is great for new plant parents as they require low upkeep. Because they can grow so rapidly, California ivies need to be fed at least once a month and require only minimal watering.
Hedera helix 'Variegata' Care Guide

This plant loves low to medium indirect light.
Allow the soil to dry out completely between waterings.
Prerfers light humidity. Spritz occasionally.
Keep indoor temps between 60-65°F.
Outside: Grow in morning sun (2-4 hours) to dappled shade the rest of the day. Bring inside if temperatures reach below 35°F.
Indoors: Grow in bright to medium indirect light.
Fertilize once a month during the growing spring and summer by diluting a liquid fertilizer by half strength. Let the plant rest in the fall and winter.
When receiving the plant, do not repot immediately but wait at least 6-12 months or if the roots are beginning to get crowded and growing through the drainage holes.
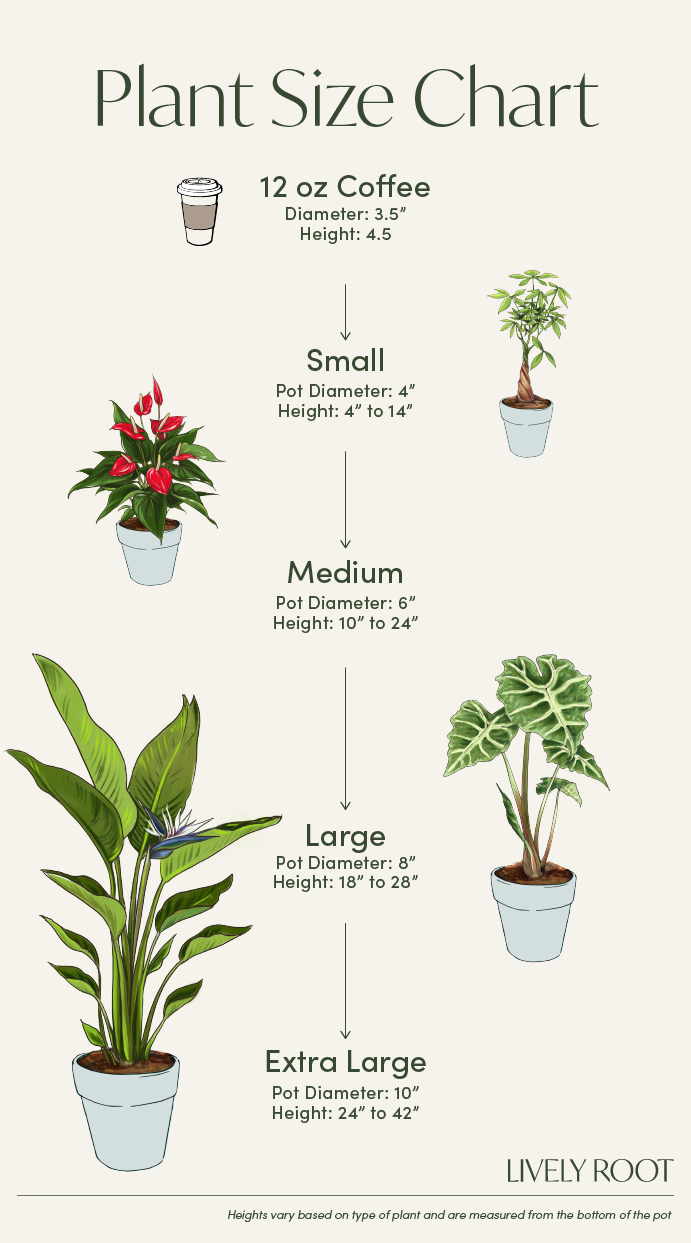
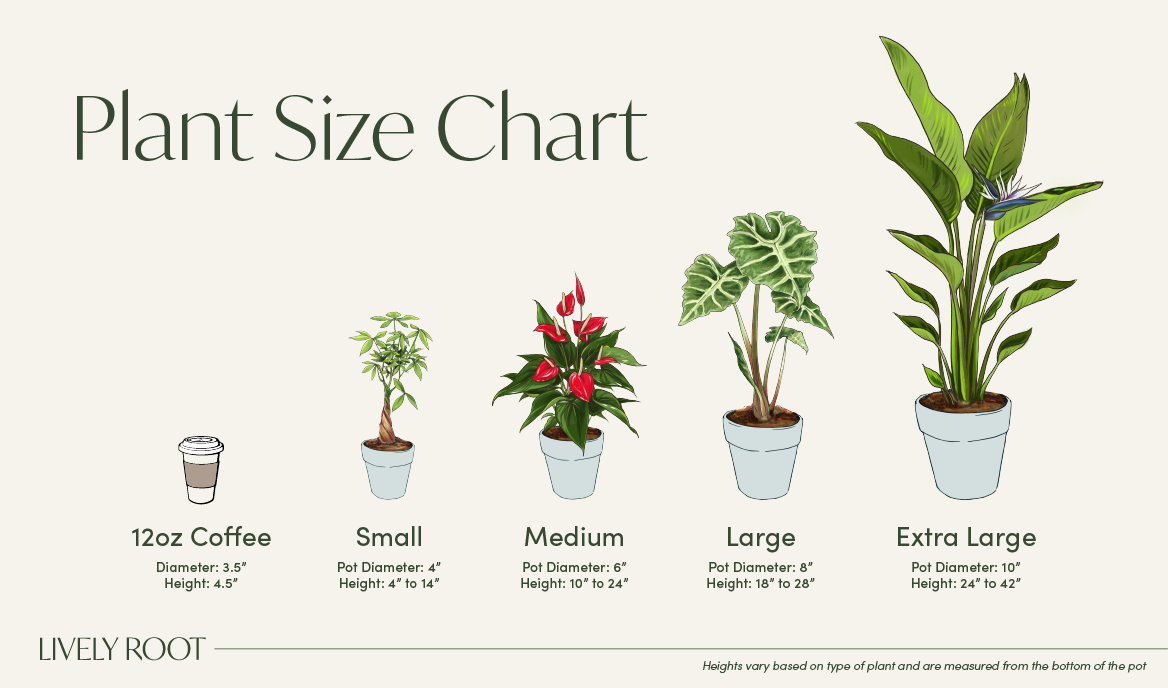
Repot in the spring, using a 2" bigger pot to keep the roots drier. (Too big of a pot could cause the soil to dry slower, which is not helpful.) Use a well-draining indoor potting mix with perlite to help with drainage.
Water your plant in the old pot before transferring over and let them sit an hour. Place a piece of screening at the bottom of the container over the drainage hole to secure the soil and allow it to drain. Add soil to the bottom to elevate the root ball. Lift the plant and release the roots against the existing planter. Use a clean knife or garden trowel to wedge between the pot and the soil to loosen.
Inspect the root ball. Notice if there are any dead or rotting roots and trim off with sterile pruners. If the plant is rootbound, cut through the roots to alleviate continued encircling.
Ensure the plant is sitting about 1" below the edge of the pot to avoid water spillage. Add more soil and backfill around the sides by tamping down. Fill up to the soil line but not over.
Water thoroughly, leaving the soil damp but not soggy. If settling occurs, add more soil.
To clean the leaves and alleviate dust particles, give them a shower from above. Fill a watering can with filtered, distilled or tap water that has been sitting for 24 hours. Place the plant in a sink and lightly wash the leaves with a shower spray end watering can.
Trim off any brown leaves with sterile scissors. Remove any debris from the soil and replenish soil if needed. Inspect for any insects at this time.
Take several stem-cuttings up to 6-8 inches off the parent plant. Remove some of the leaves closest to the cutting and place them in a vase filled with water. After several weeks roots will form. After three inches of roots have emerged, use well-draining soil in a small container with drainage. Poke a hole in the soil center. Slip the roots down into it and tamp down the soil around them. Keep the soil moist and watch them grow!


